Water Damage Cleanup Methods For Repairing Wall Damage: The Restoration Group's Approach
April 19, 2022
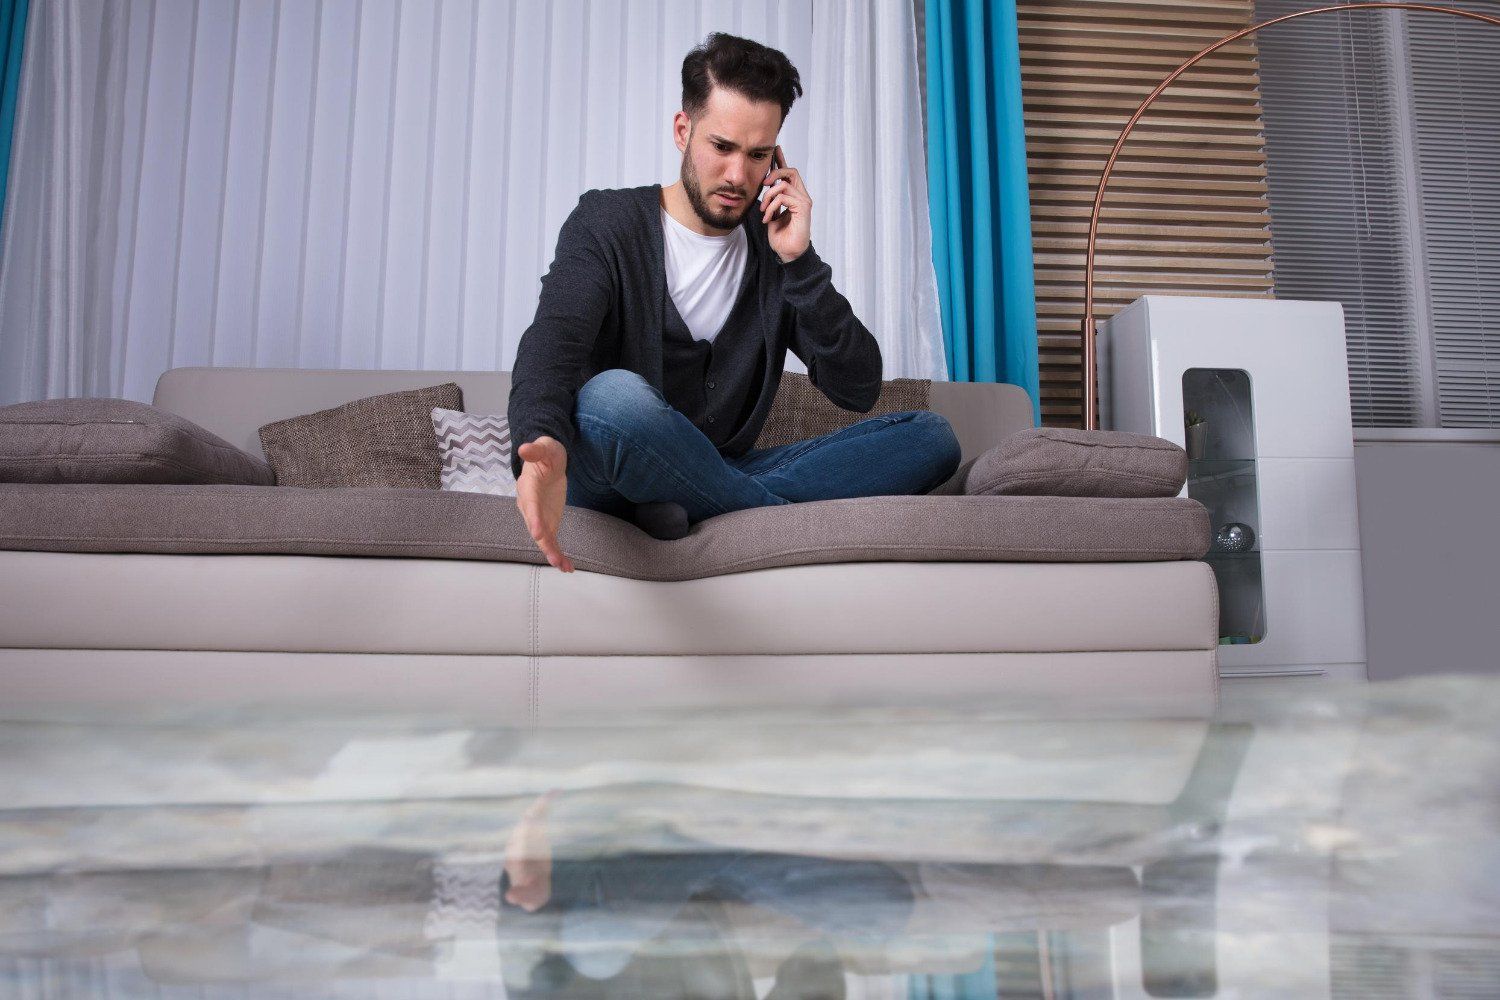
Drips, leaks, and floods can happen to almost anyone at any time, without warning. If you live in North New Jersey, you are most likely aware of the fact that you are extremely prone to water damage. Despite the fact that you may go to great lengths to prevent any damage from occurring, accidents do happen.
When you notice that your wall has been damaged by water, you must address the problem as soon as possible by utilizing
water damage cleanup services. You can do the repairs yourself, or you can contact us at The Restoration Group if you require additional assistance. Here's how we go about putting the water damage cleanup process into action.
Locate the source of water
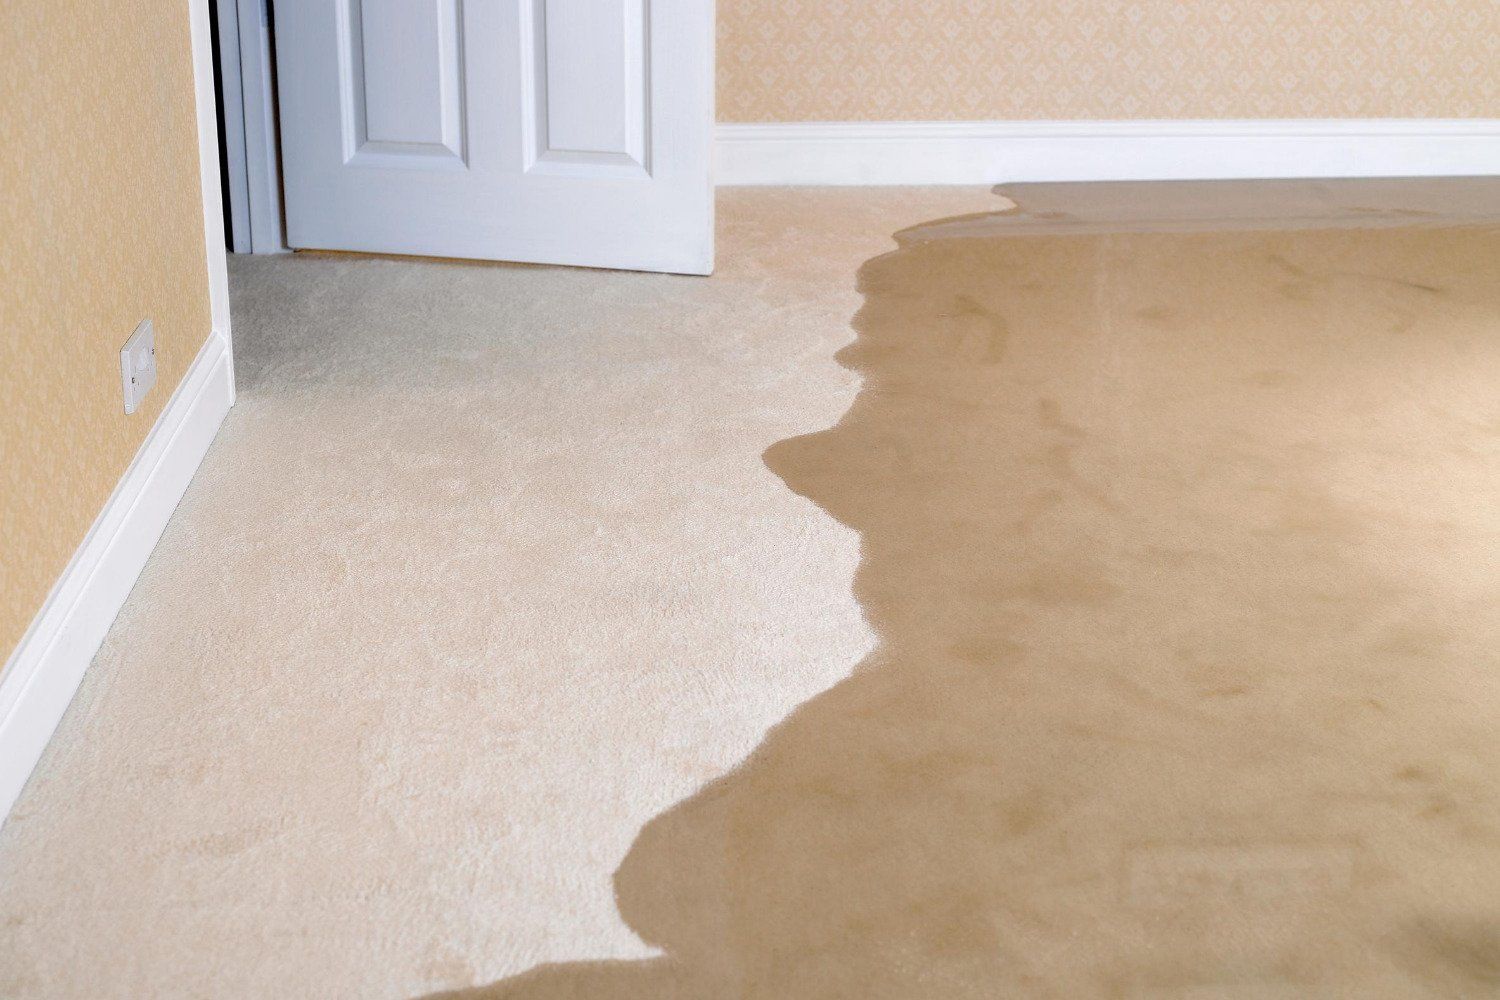
First and foremost, you must identify the source of the leak or flood in order to contain it. The failure to complete this step can only result in a reoccurrence of the problem in the future. It's possible that the source of the excess water is right next to the damaged wall, or that it's in another part of the room. Finding the exact source of the water damage is extremely important to the water damage cleanup process because it allows you to ensure that all water damage has been identified and dealt with in order to avoid any future mold growth or other complications in the future.
Identify and evaluate the damage
Before you actually start your project, you must first devise a strategy, and in order to do so successfully, you must first inspect the surrounding area. If the damage is not too severe, you should be able to complete the repairs on your own. It is possible that you will have to replace all of the drywall, depending on the extent of the damage. If the damage is not extensive, you may be able to get away with simply removing the damaged portion and patching it up. If the drywall becomes too saturated and sags or crumbles when you touch it, you will need to replace the entire structure.
Prepare the area
When embarking on a project of this nature, the first and most important consideration should be safety. Safety goggles are highly recommended and strongly encouraged when working with wet drywall, according to industry professionals. A tarp should also be placed on the floor to collect dust and debris in order to protect your room and floor.
Once you have everything set up, you can begin preparing the wall. Preparing the area by cleaning and scraping it prior to making any changes is an excellent first step in repairing your water damaged wall. Clean the area with a damp cloth and allow it to dry for a few minutes. Remove any remaining bubbles and peel with a scraper after that.
Cut Out or Remove the Wet Drywall
According to the extent of water damage to your wall, a small section of it should be cut out or the wall should be completely removed. You must ensure that any and all water damage is dealt with completely by removing anything that cannot be restored in order to perform effective water damage cleanup. For drywall replacement, use a utility knife to carefully cut along the line, first removing the baseboard trim and then the damaged drywall. If you notice that the insulation within the house has become wet as well, that should be removed as well.
If the damaged area is small, all that needs to be done is to cut out the specific area that has been damaged. It is recommended that you draw an outline of where you intend to cut before making any incisions in case you want the lines to be even.
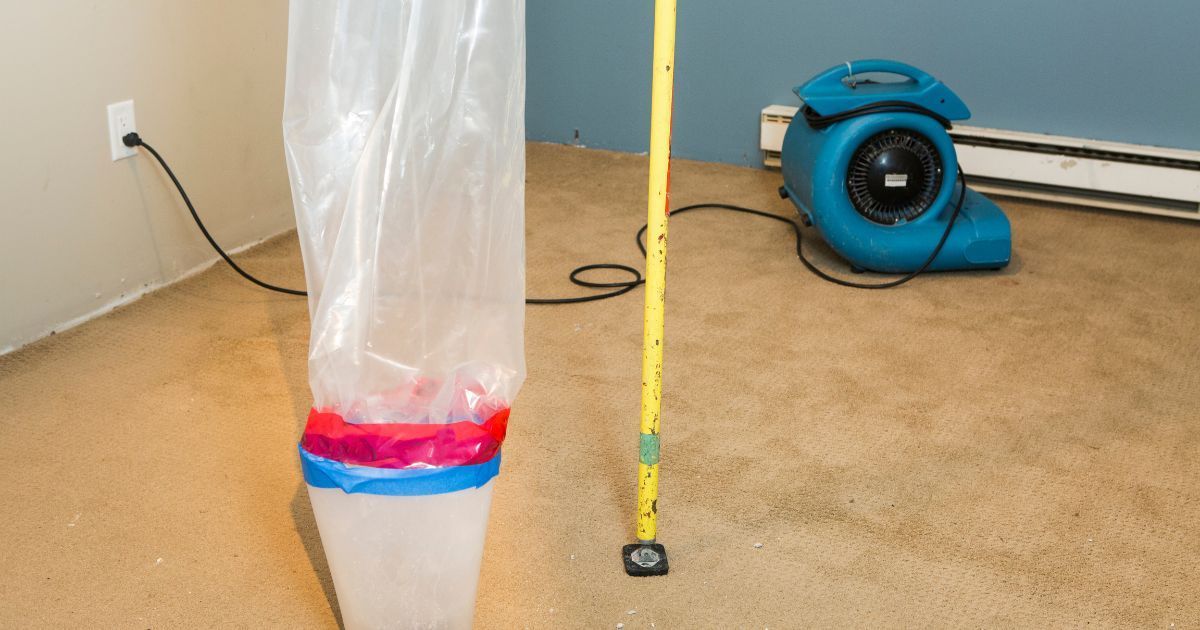
Once the drywall has been removed, it is necessary to allow the area to dry completely. It is recommended that you allow at least 48 hours for the affected space to dehydrate completely. It is possible to improve the efficiency of this process by employing fans and dehumidifiers.
It is highly recommended that you contact a licensed electrician if you notice any damage to electrical sources contained within the wall.
Replace insulation and drywall or apply filler to the area
Alternatively, if you have only cut out a small section of the wall, all that is required in this step is to apply filler. This is used to cover the removed portion of the wall and prepare it for subsequent painting. It is critical that you allow the wall to dry completely, just as you did with the previous steps. Again, the use of a fan may be beneficial in making this process more efficient.
If you have decided to replace all of the drywall, this is the step in which you will replace the material. Make certain that all of your insulation is up to code and that your drywall is in good condition.
Sand and Paint
If you've used filler to repair your drywall, you'll need to sand the area thoroughly before painting it. Always check to see that the area is completely dry before beginning to scrape away at it. Use a sander to smooth out the surface so that it is ready to be painted.
Painting is the final step, regardless of whether you performed a drywall repair or a complete drywall replacement. This helps to eliminate the appearance that any water damage cleanup has taken place at all. You may choose to use a water-based primer before applying the paint to avoid streaking.
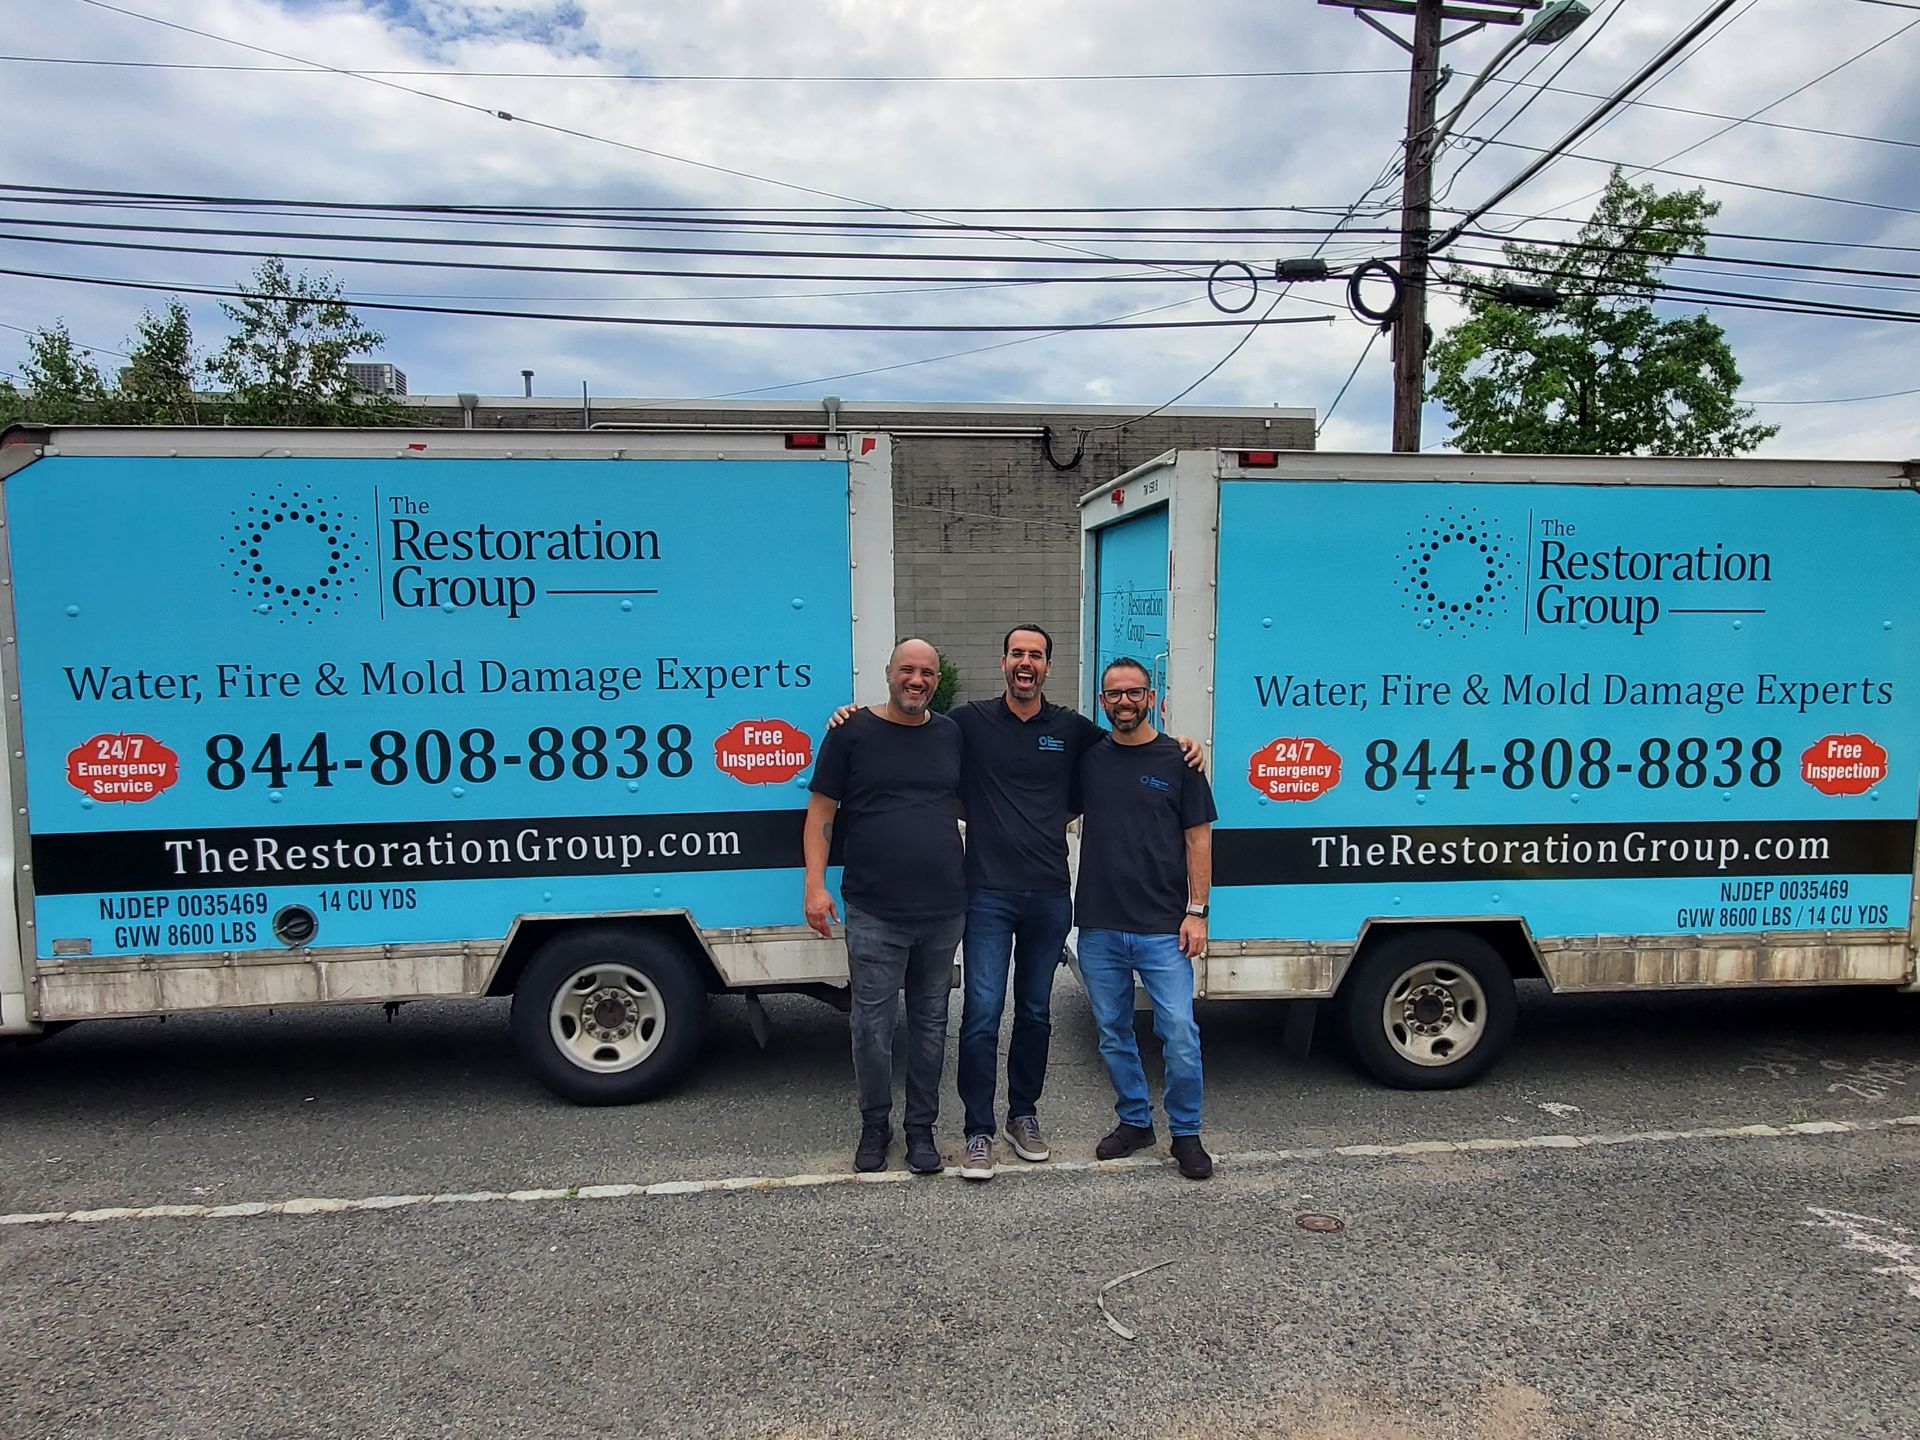
Call The Restoration Group for Water Damage Cleanup
Water-damaged drywall can be overwhelming and complicated to restore or replace for some people, and we understand how you feel. You should contact The Restoration Group immediately if this is the case for you. We can efficiently and safely repair water damage in your home because we are the water damage cleanup professionals.
Call us at (973) 355-6966 to learn more about how to receive a free estimate for our
water damage cleanup services or to schedule an appointment.
More To Explore
24/7 Emergency Damage Restoration Services
GET A FREE QUOTE TODAY

We are IICRC certified and hire only the most trustworthy and dedicated team members to ensure that each job is taken seriously and handled with absolute professionalism.